Add a video and pick what you want back: the written descriptions, the narration as audio files, or a finished video with the narration already in it. ViddyScribe does the rest.

1. Add your videos

In your Library, click New Generation.
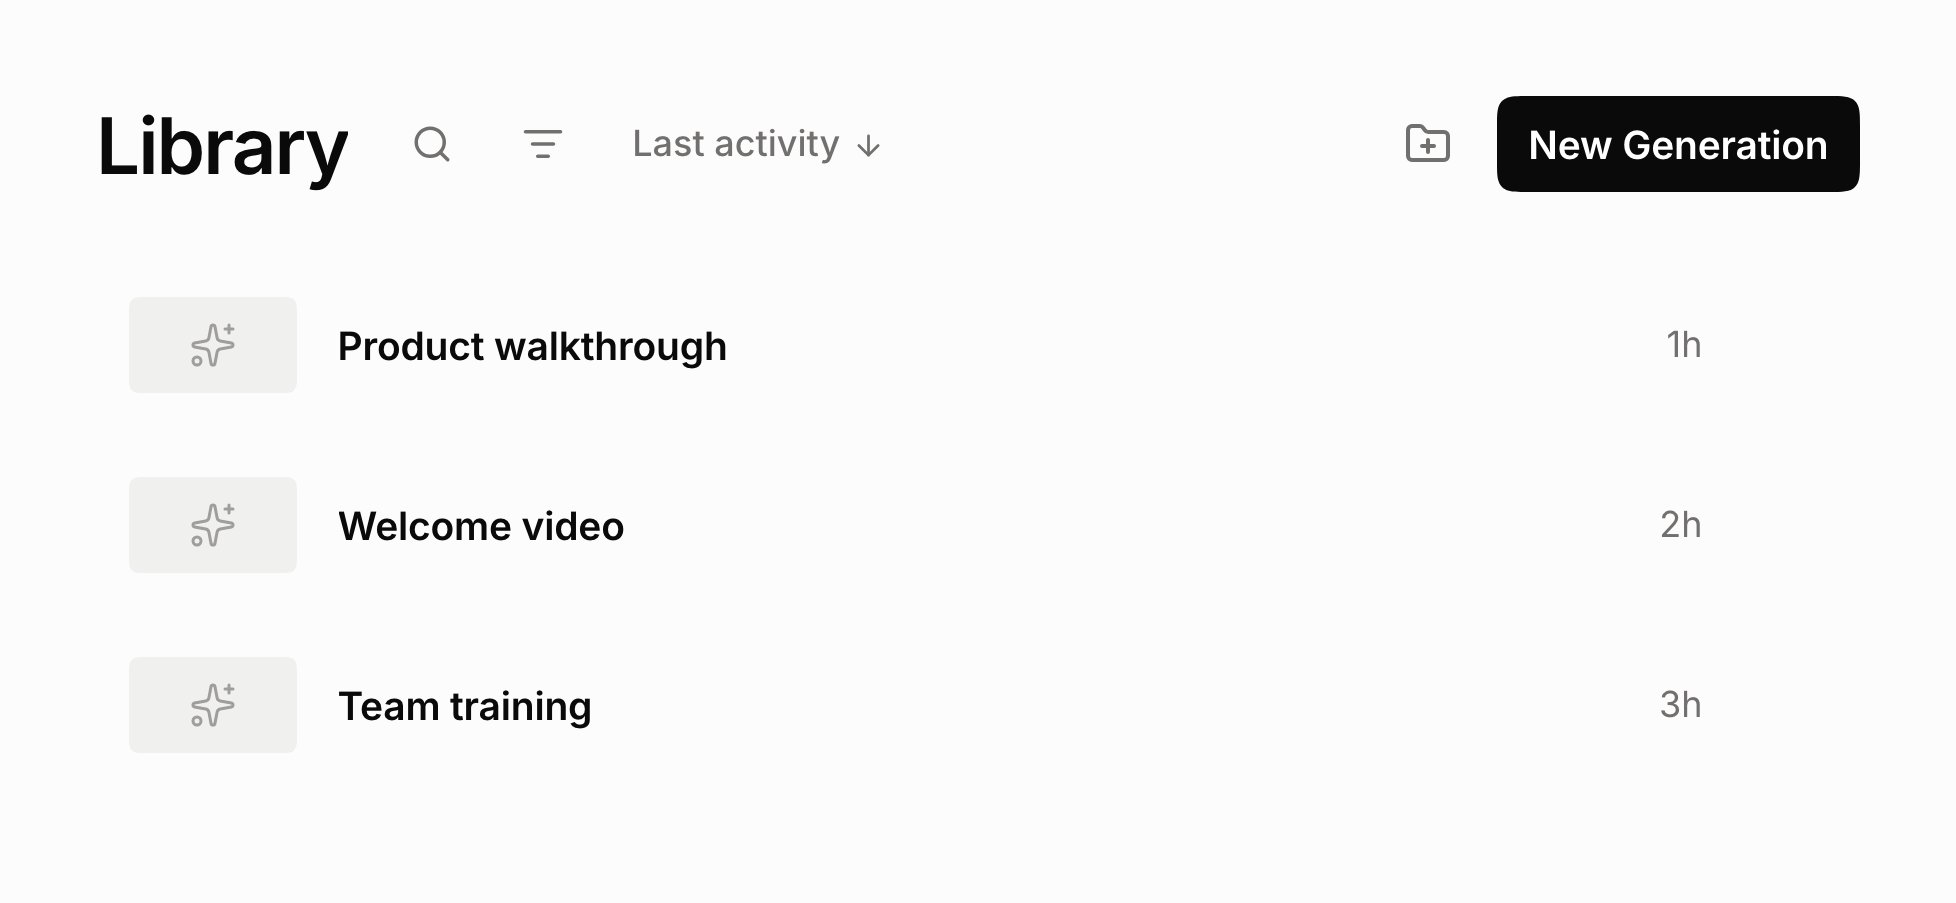
The Library with three example videos and the New Generation button at the top right
Add videos in one of three ways:
  • Upload: a video file from your computer
  • Add from Library: a video you already added
  • Add from URL: paste a link to a video file or a YouTube video, depending on your plan.
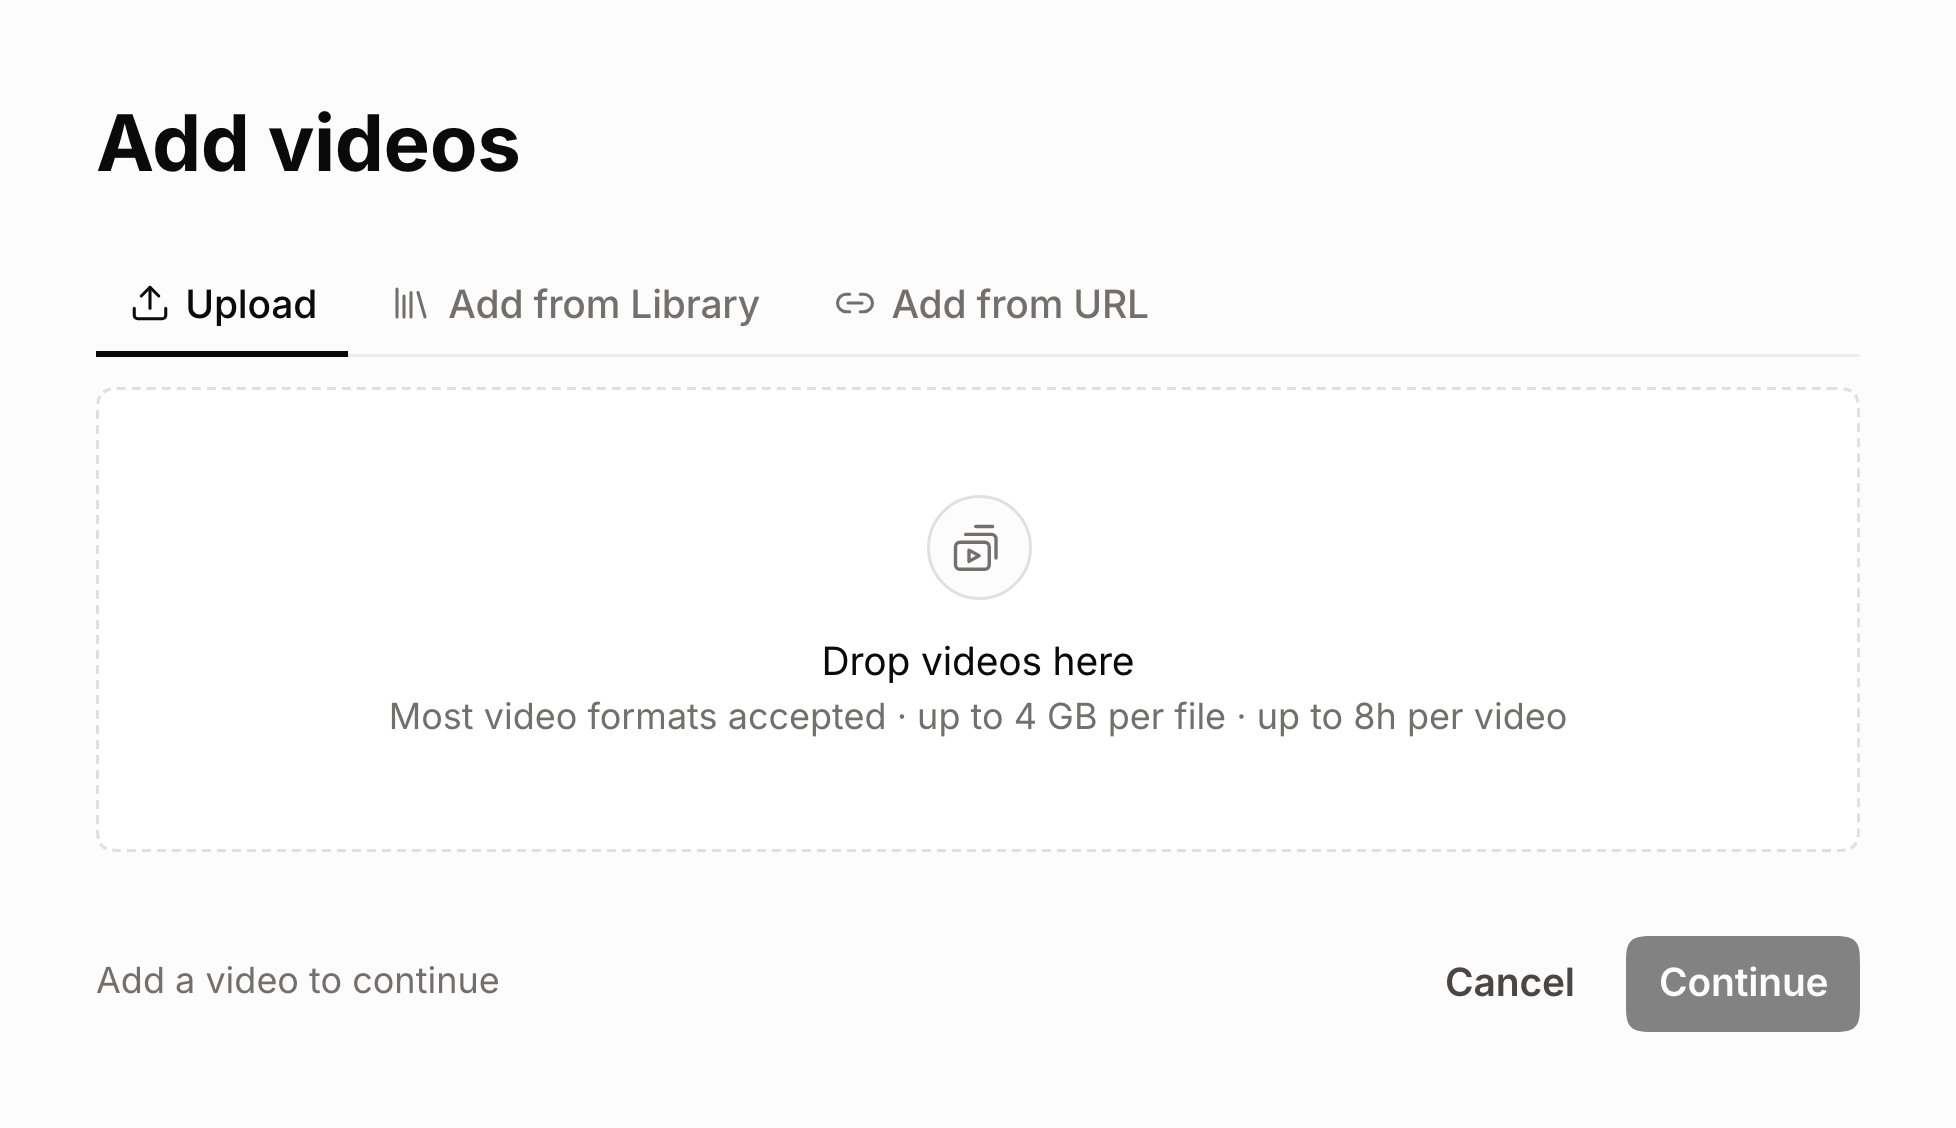
The Add videos step with Upload, Add from Library and Add from URL tabs above a Drop videos here area, which notes most video formats accepted, up to 4 GB per file and up to 8h per video
Then click Continue.

2. Choose your final output

Pick the last thing you need. Each one includes the ones before it, so AD Video also gives you the script and the audio.
  • AD Script: the written descriptions and their timing
  • AD Audio: your audio descriptions as audio files
  • AD Video: your video with audio description baked in
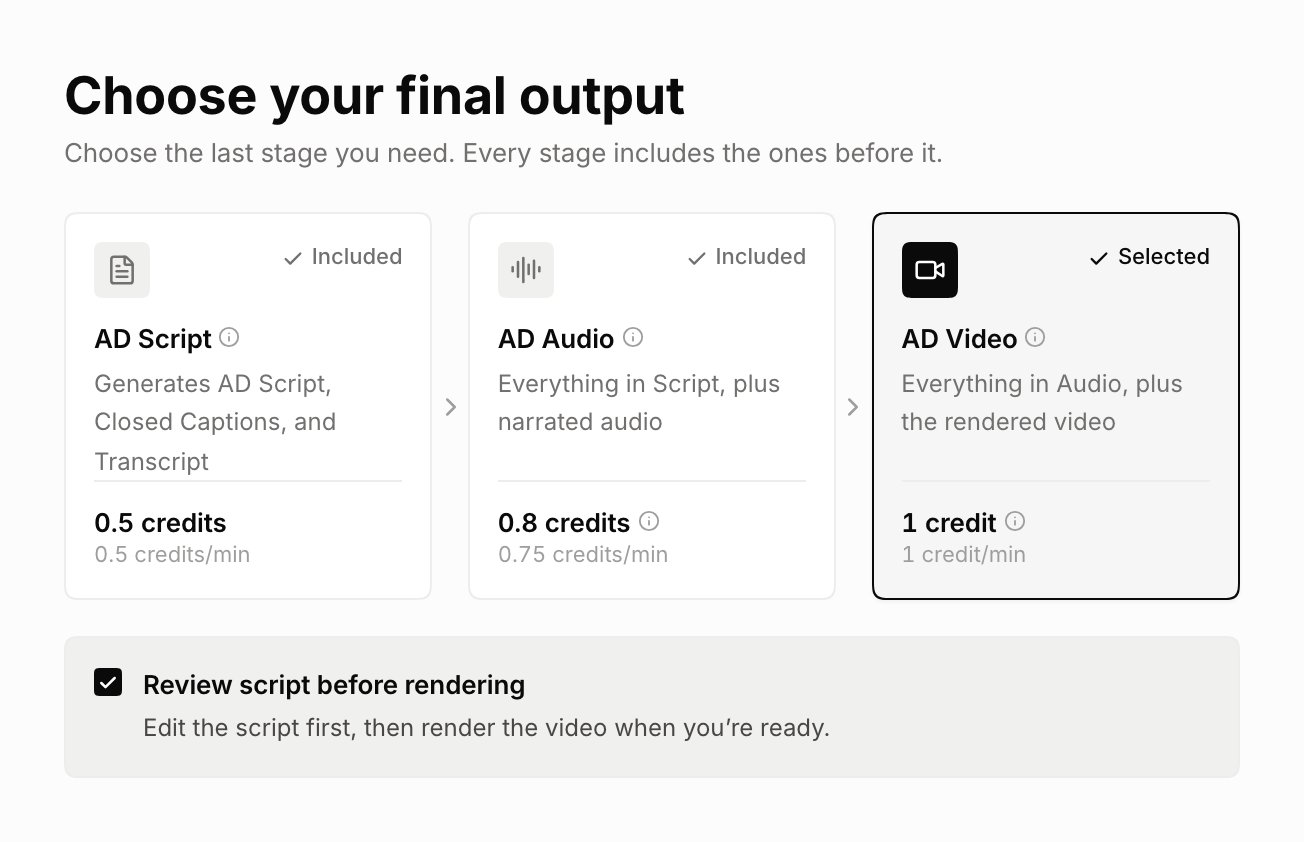
Every output also comes with closed captions and a transcript.
AD Video selected, with Review script before rendering checked below the output cards
To review before creating the final output, check Review script before rendering below the output cards, above Settings. For AD Audio, the checkbox says Review script before creating audio. You can keep AD Video or AD Audio selected and still review the script. Leave the box unchecked to create the output automatically. It starts unchecked unless your saved preset includes review. Checking it does not change the total price. AD Script does not need this checkbox because it already stops at the script.

3. Pick your settings

  • AD type: Standard AD fits the descriptions into the gaps in the speech, so your video stays the same length. Extended AD pauses the video to make room, which suits videos where people talk the whole way through.
  • Language and voice: the language the descriptions are written and spoken in, and who reads them. Play a sample before you decide. Samples are free.
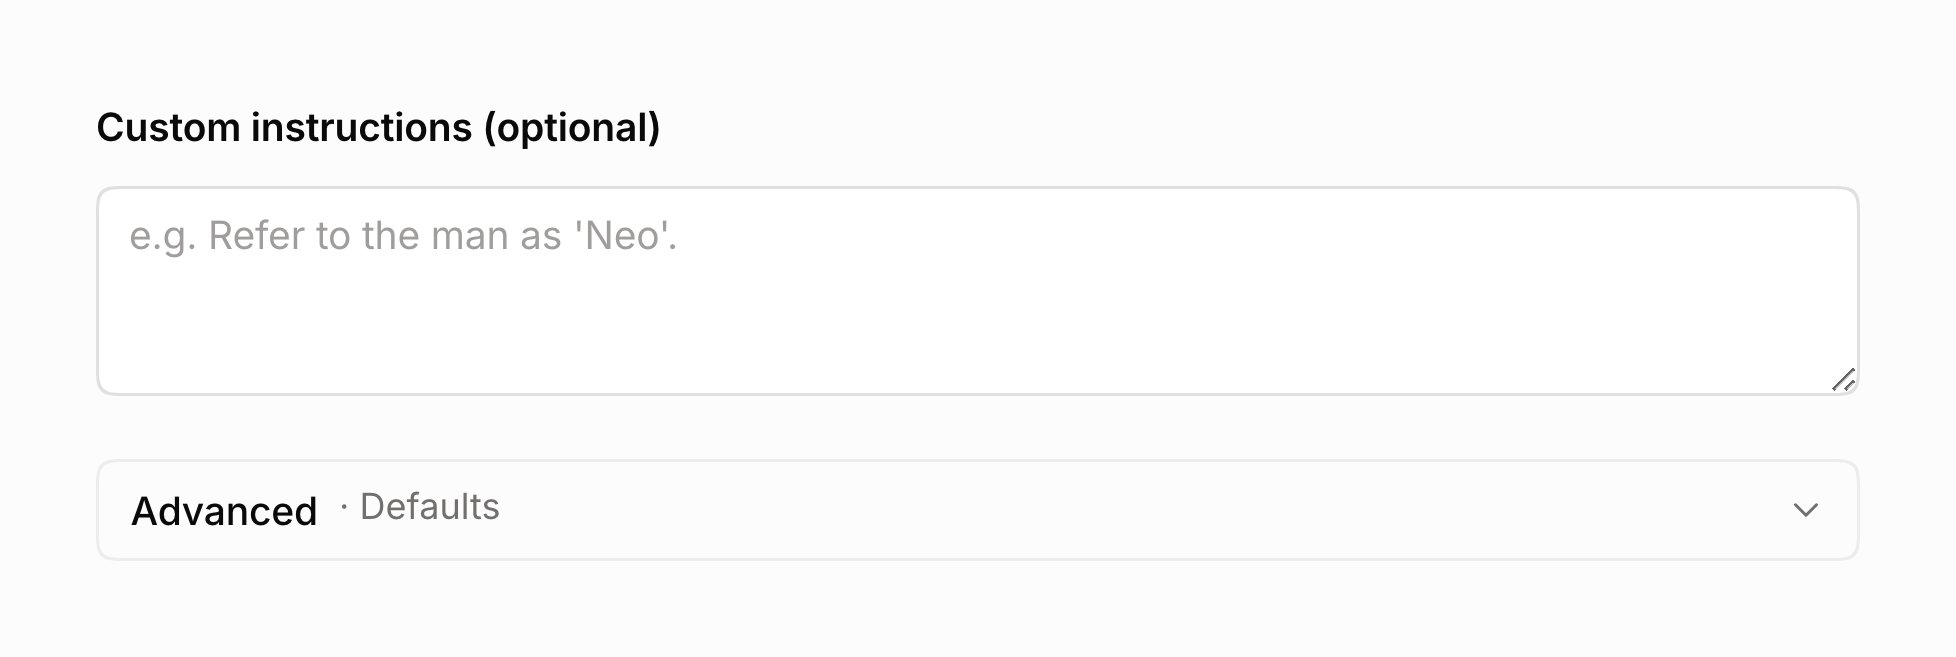
  • Custom instructions (optional): anything ViddyScribe should know before it writes. How to refer to a person, words from your field, or the tone you want. For example, “describe outfits and colors in detail when characters first appear”.
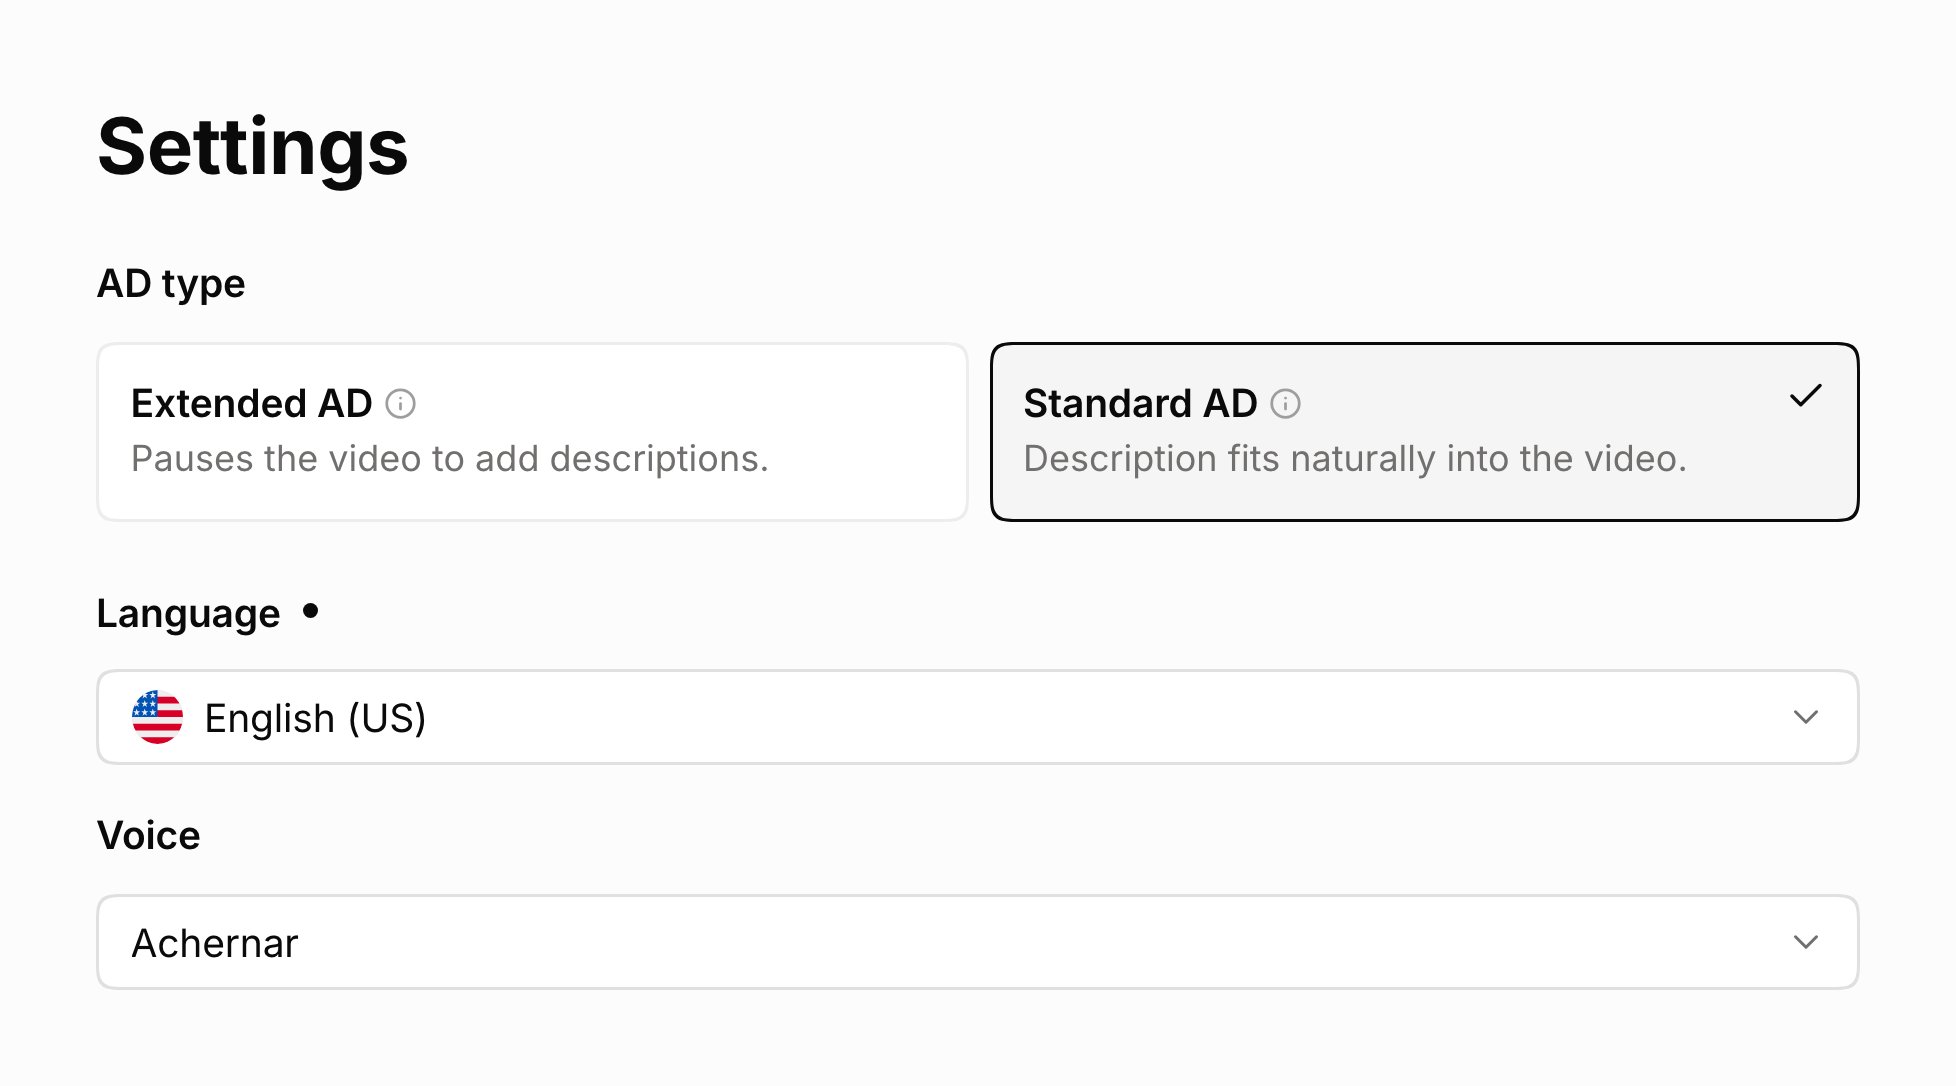
The Settings step with Standard AD chosen over Extended AD, Language set to English (US) and Voice set to Achernar
You can skip Advanced. Those settings are already set for most videos.
An empty Custom instructions box above the collapsed Advanced row, which reads Advanced, Defaults

4. Generate

Click Generate. With review checked, ViddyScribe prepares the script and waits for you to review it before creating the audio or video. With review unchecked, it creates your selected output automatically. There is no second workflow dialog. To review and edit, follow How to Edit Your Audio Descriptions. You can leave the page. The result shows up in your Library. Most videos are done in minutes. While it runs, hover the info icon next to the status to see the estimate for your video.

5. Download

Open the video in your Library and download the files you need.